Paintball Markers + Servos + Webcam + 3D Printing + Laser Cutting + NI myRIO + LabVIEW = AWESOME
The Waterloo Labs team has created an art system like no other. Using three robotic paintball markers, a webcam, an NI myRIO, and LabVIEW, we built a thrilling system where you get to be part of the canvas. Check out the video and all of the technical information below.
System Overview
The Paintball Picasso system consists of three robotic paintball markers that can create art. Each paintball marker uses servos to create a pan-tilt platform to move the markers. Custom electronic triggers in the markers allow them to be fired remotely, shooting more than 10 paintballs per second. The system is controlled by the NI myRIO embedded controller and LabVIEW software that enables the system to be controlled in a variety of ways, including taking an image from a USB webcam in order to outline the person.

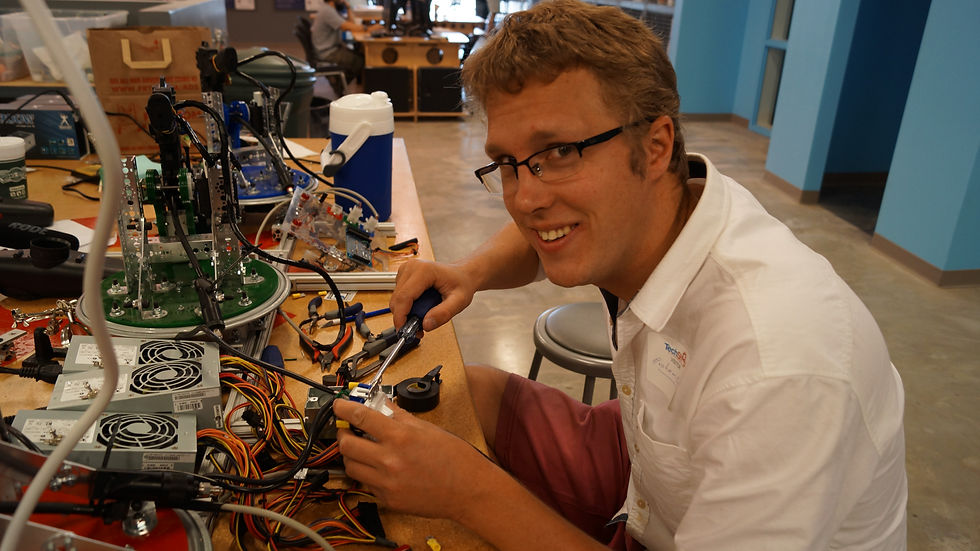







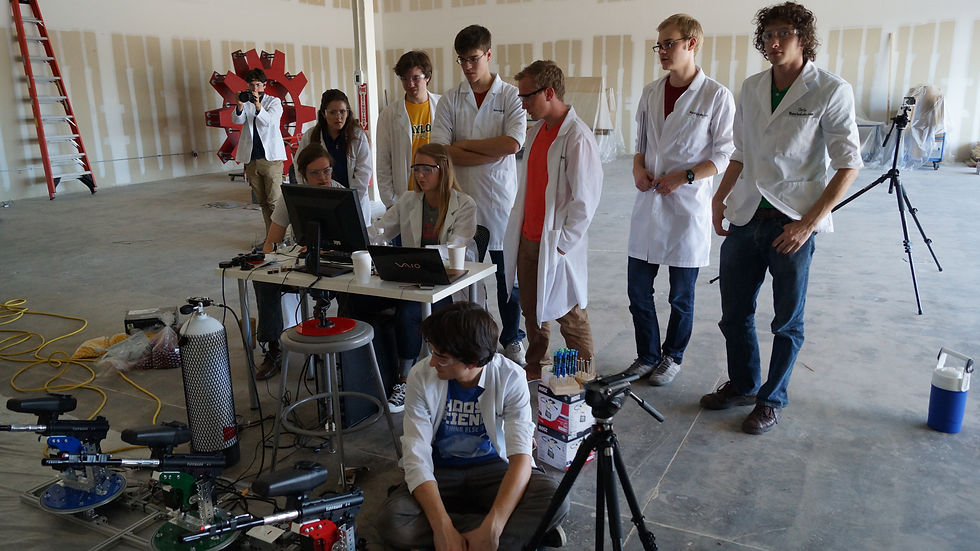


A huge thank you to this awesome group of engineers, students and makers!
William Wilson
Stephanie Campbell
Rick Weiss
Brian Deagle
The Team
Hunter Smith
Tucker Paxton
Erik Olson
Matt Jacobson
Chris Correll
Dayna Polstein
Graham Green
Chris Culver
Cameron Thevenin
David Rappaport
We used 3 Tippmann A5 paintball markers. The A5’s were a favorable option because of the cyclone hopper system, which allowed us to reliably feed paintballs without shaking the markers. The markers use a standard remote line and CO2 tank for pressure. The remote lines were necessary because our servos were not rated to provide the level of torque required to rotate the marker+CO2 tank without gearing. We also equipped each marker with a Rosman laser sight that allowed us to calibrate the markers without shooting paint.
Once we had the marker selected, we needed a frame to hold it that would allow it to pan and tilt. Using a combination of 3D printing, laser cutting, 80/20 extruded aluminum, and the TETRIX building system, we created a sturdy and reliable system that moved the motors. The horizontal movement uses a high torque servo motors and a lazy susan to rotate the markers left and right. The vertical movement is directly linked to a second high-torque servo motor that moves each marker up and down. We built the frame out of extruded 80/20 aluminum, then used parts from the TETRIX metal building system that allowed us to easily mount the servos and brackets.
The entire system was first modeled in Autodesk Inventor using both manually designed and freely available Computer Aided Drafting (CAD) components. CAD software allowed us to quickly develop the design and bring it from our wild aspirations into reality. Many DIY enthusiasts utilize free CAD programs to generate drawings for their projects, and some prefer the old-school pencil and sketchbook approach. We opted for digital design because many of the parts were custom laser cut from acrylic sheet and assembled in layers, while other components were printed using the additive manufacturing process known as 3D printing. Using exported Autodesk drawings, we could quickly cut and assemble the acrylics for rapid manufacturing while 3D parts printed on a MakerBot Replicator 2 3D printer.
3D printing allowed us to create custom brackets to hold the vertical servo motors, as well as a custom mount for the paintball markers. The 3D printed parts made it easy to interface different components so that we could place the motors or paintball marker in the place we wanted in the 3D model, then essentially fill in the areas in between with printed plastic. The printed parts were strong enough to make the small bracket parts, but proved to be too flimsy to make the larger parts that undergo more stress. The red, green, and blue parts were laser cut out of multiple layers of acrylic. We stacked multiple layers together to create strong and slick-looking parts.
Hardware Overview

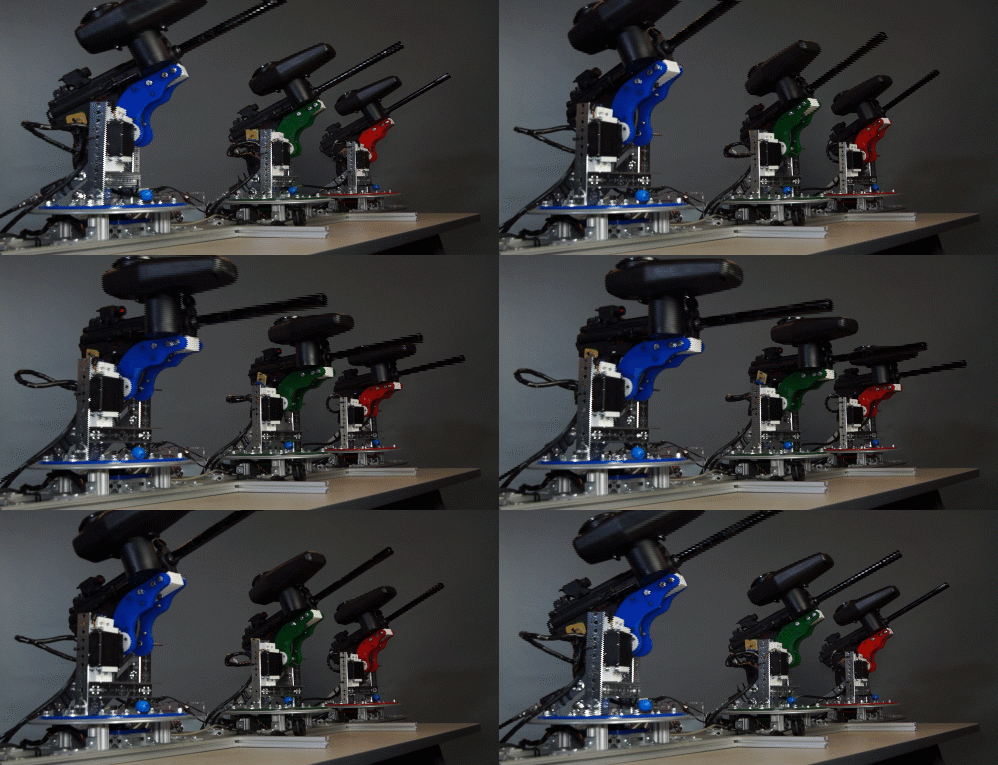
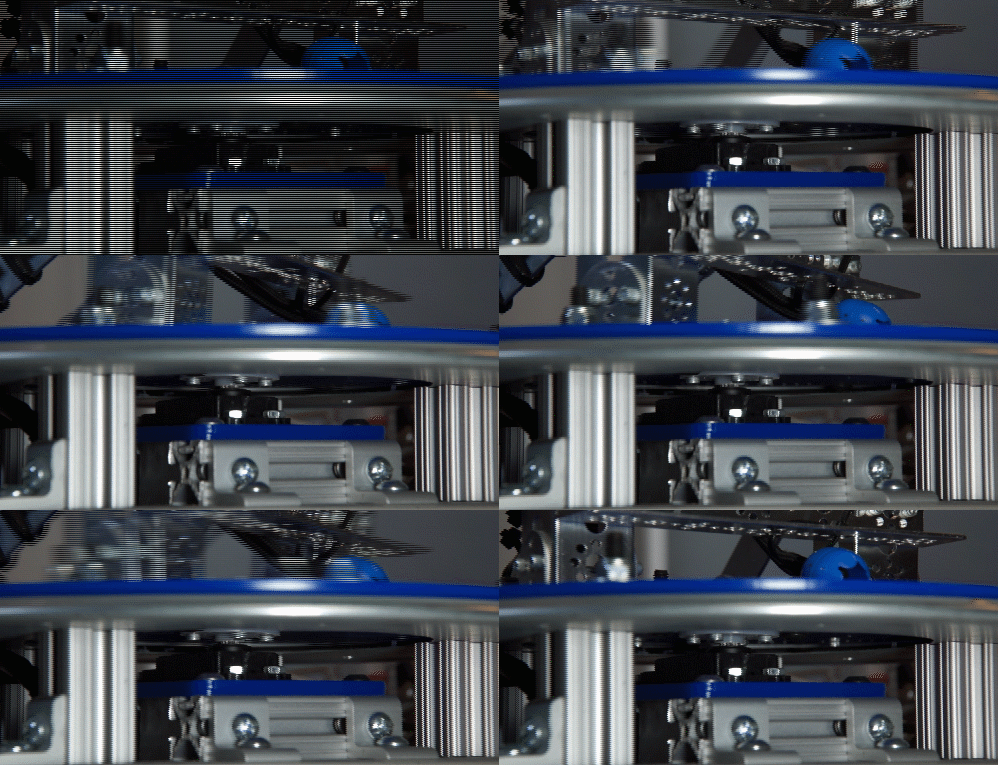
The Paintball Picasso Markers Moving
The Vertical Arm Assembly
The Lazy Susan Assembly
Paintball Picasso - Episode 09
Electronics Overview
Controller
We chose an NI myRIO embedded controller for several reasons.
1. It has lots of inputs and outputs that allowed us to control all of the motors, triggers, and provide sensor inputs for feedback.
2. We could directly connect the USB webcam into the controller.
3. It has tons of computing power for processing the webcam data, doing the position math.
4. The FPGA allowed us to build in very fast, reliable safety procedures that didn't rely on Windows or the real-time operating system, including an essential hardware kill switch that prevented countless injuries during initial testing. Seriously, if you build something like Paintball Picasso, make the first priority a hard kill switch. Your test subjects will thank you.
Electronic Triggers
Each marker is equipped with an electronic trigger that uses a hall effect sensor to detect the trigger. We hotwired the
The NI myRIO Controller Mounted on the Control Box
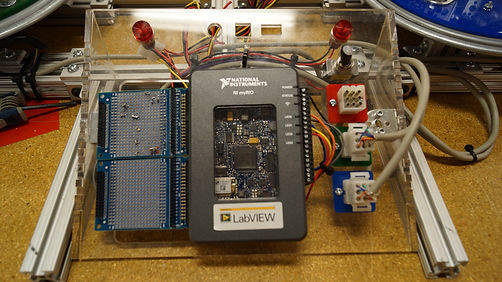
electronic trigger to an amplification circuit so each marker could be fired by sending a digital pulse from NI myRIO. We achieved this by measuring the response of the circuity already built into the electronic trigger and using the NI myRIO to emulate the signal. This aspect of the Paintball Picasso system is an example of the power of DIY electronics. Think of all the electronics we can tap into and control just by emulating signals!
Each servo can pull up to 6 amps (@5V) each so we needed a high capacity power supply. We use three separate computer power supplies so each marker has dedicated power.
Software Overview
The Paintball Picasso software consists of three separate components that work together to control the system. The NI myRIO contains a dual core real-time processor as well as an FPGA (field-programmable gate array). The NI myRIO also connects to a Windows laptop so we can control it using a graphical interface. All three components are written in LabVIEW graphical programming language.
FPGA
The FPGA controls the low-level inputs and outputs and calculates the motor movements based on calibration. The FPGA receives a list of paintballs with a color and an X-Y coordinate pair. It splits the balls into three separate lists for each marker and calculates the PWM signal to send to each motor. One of the most important parts of the FPGA is the safety switch, a hard-wired switch that had to be enabled in order for the markers to fire. We had a flashing light that would signal when the triggers were enabled to avoid any accidents.
Real Time
The NI myRIO also contains a real-time program that reads in the image directly from a webcam and organizes the list of paintballs into a nice smooth path to minimize the movements between shots.
Windows
The NI myRIO connects via USB to a Windows laptop running the LabVIEW control program and graphical interface. In this program we could control the modes, manually move the markers, and processes the images coming from the NI myRIO.
Vision
The vision portion of this project contained three main parts: acquisition, transfer, and processing. The acquisition is done on the NI myRIO real-time controller, which grabs an image from the USB webcam about once a second. We used the NI Vision Assistant Express VI to help process the image. Firstly, the user selects a region of interest for processing. This allowed us to paint different size people with the system, and select only areas inside the green screen. The image was then thresholded to form a binary image of areas of interest. This step was time-consuming, as it required careful calibration of the threshold parameters to achieve the desired output. The binary image was then cleaned up and expanded slightly, and an outline was created around the person. Finally, we resampled the image to create the 50x50 grid and lined up the each third of the image to the respective marker. This final step helped prevent any of the markers having to fire across where a person might be standing.
The LabVIEW Front Panel of the Windows Host Program
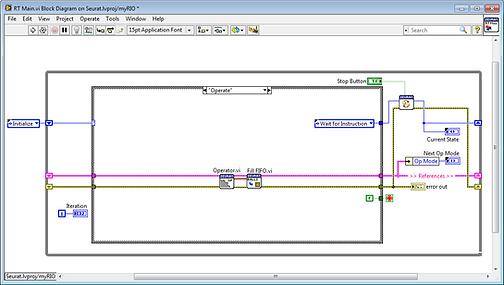

Dayna Getting Outlined
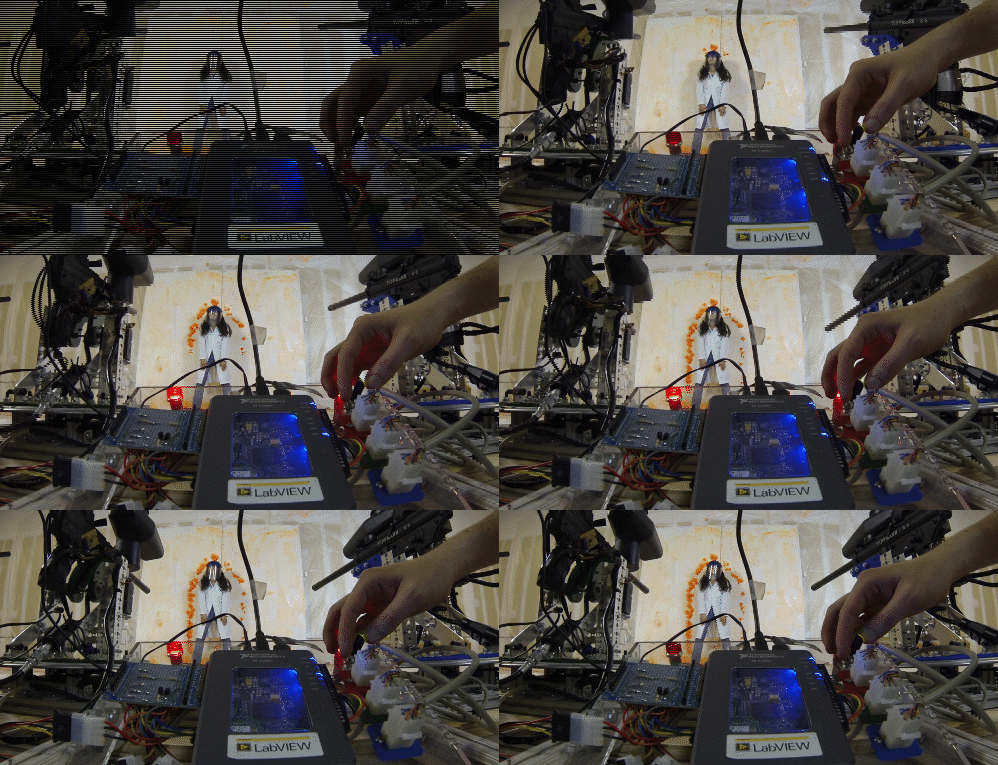
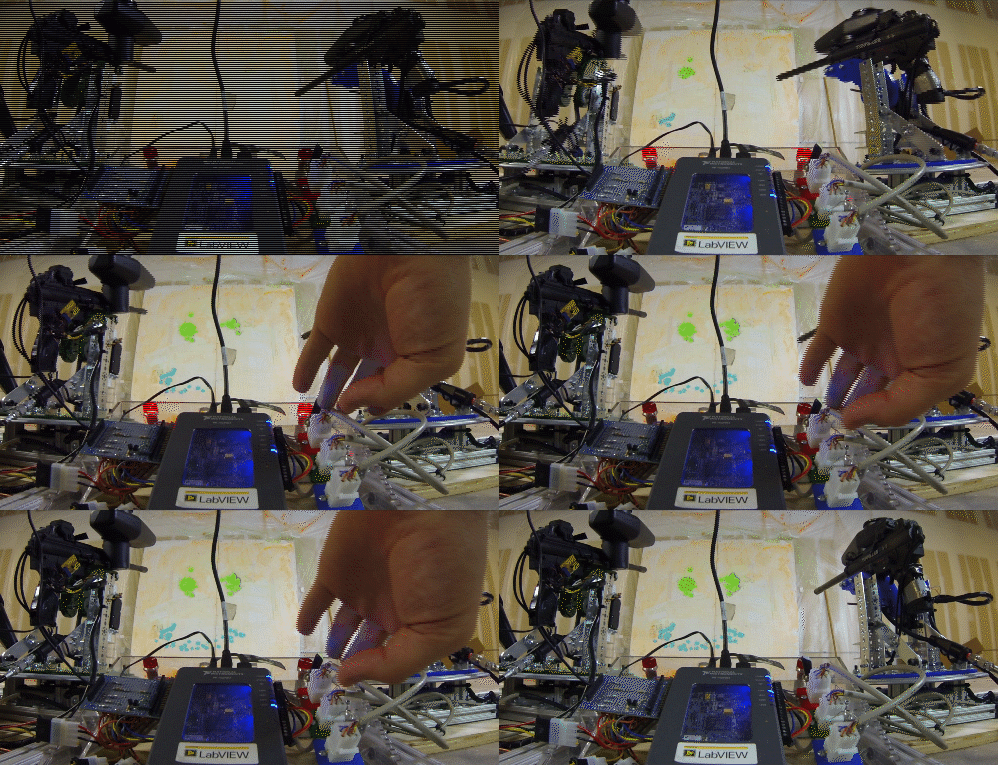
Paintball Smiley
Software Requirements
LabVIEW 2013
LabVIEW Real-Time Code
This project was created and filmed at Tech Shop Round Rock. If you like making things and want access to world-class tools, check out a Tech Shop near you.

